Trying out Docker: Containerized alloy demo kit
tl;dr
- Running an existing Episerver demo project (AlloyDemoKit) in two Docker containers
- Creating self-sufficient images for demo or test purposes
- Code can be found here
In this blog I’ll be taking another look at Docker. The aim is to get the AlloyDemoKit reference site up and running by using Docker containers. I will run the demo solution in two separate containers, one for the site and one for SQL server. There are two purposes: the first purpose is to show how to set up AlloyDemoKit while using Docker configuration files to provide a consistent experience for every developer checking out the project. The second goal is to have a (fast) way of spinning up and spinning down demo- or test environments in a pre-defined state.
![]()
Running alloy in a container
To start off, I’ve installed Container development tools (using the Visual Studio installer) as this provides the option to add Docker support from Visual Studio. When you click on “Add - Docker Support”, a couple of files will be added for you. Let’s take a look to see what these files are for:
- There’s a Dockerfile for our web project (in the alloydemo folder)
- This is a description of how to build an image for our web project. After building we will have an image called alloydemokit. The Dockerfile has a reference to a Microsoft image which includes IIS and adds remote debugging support to that image
- There are multiple docker-compose*.yml file(s)
- Configuration for setting up complete environments, with one or multiple ‘services’. It is used to configure things like port mappings, volume shares etc.
- There’s a Docker project (.dcproj)
- It contains the docker-compose file(s) and is used as startup project to run our project in Docker

If you run the project it will not run in IIS or IIS Express anymore, you’ll notice that the run button now says “Docker”. A couple of things will happen once you run your project: it builds the Docker image(s), uses the image(s) to start container(s), hooks up debug tools and opens up the browser with the correct url. All of this can also be done from the command line and you can see what is happening in your output window, so no magic here. As we have to use Windows containers, it will take quite a while to build the project for the first time; the Windows images are very big. Where running a linux image takes a matter of seconds, running a new Windows container takes well over 10 minutes. Fortunately this will only happen the first time (or when you explicitly want to update to a different Windows image version) so be patient and make sure that you have plenty of disk space.
Our project now builds an image called alloydemokit for our web project, using the default Dockerfile generated by “Add Docker support”. Here’s some info from the output window:
1>Building alloydemokit
1>Step 1/4 : FROM microsoft/aspnet:4.6.2
1> ---> 8352eb08cfc4
1>Step 2/4 : ARG source
1> ---> Running in 18a750e96125
1> ---> 1a574005157b
1>Removing intermediate container 18a750e96125
1>Step 3/4 : WORKDIR /inetpub/wwwroot
1> ---> f55e03a33d15
1>Removing intermediate container bf30af72d81a
1>Step 4/4 : COPY ${source:-obj/Docker/publish} .
1> ---> 7fe4fbdaf958
1>Removing intermediate container 1fc3a286aa08
1>Successfully built 7fe4fbdaf958
1>Successfully tagged alloydemokit:dev
Every command creates a layer which will be cached, therefore it only has to be re-executed when changes are made. As seen in the output log, our alloydemokit has a base layer using an image built by Microsoft, and three extra layers, needed to run our project from VS.
All changes can be found in my fork of AlloyDemoKit in the docker branch.
Running SQL in docker
Microsoft provides images that can be used in order to run SQL in a container. The documentation is quite clear so it’s easy to get an instance up and running. The image has a couple of (required) parameters, you have to accept the EULA, set a sa password and you can set up databases immediately after starting (remember the image does not have any data in it by default). Below you can see the docker-compose file I ended up with. I’ve included comments to describe what every line is doing.
version: '3'
services:
  alloydemokit: # Service for our web project
    image: alloydemokit # Image name
    build: # Info needed to build the image
      context: .\AlloyDemoKit
      dockerfile: Dockerfile
    networks: # We'll be using a network I've defined below called alloy-network
      - alloy-network # This allows communication between containers based on the service name
    depends_on: # the db is required
      - alloydemokit-db
  alloydemokit-db:
    image: microsoft/mssql-server-windows-developer # Empty sql server instance
    ports:
      - "1433:1433"
    environment:
      - ACCEPT_EULA=Y
      - sa_password=All0yDemokit! # This sets the sa account password
      - attach_dbs="[{'dbName':'alloydemokit','dbFiles':['C:\\data\\alloydemokit.mdf','C:\\data\\alloydemokit_log.ldf']}]"
      # Attach dbs will attach the database files once the server has started
    volumes: # This will map the App_Data folder on my PC to c:/data in the container (R/W)
      - ./AlloyDemoKit/App_Data:C:/data/
    networks:
      - alloy-network
networks: # Used to redirect traffic and make communication between containers possible
  alloy-network:
    external:
      name: nat
Our alloydemokit service needs to be able to access the container that’s running the database. With the set-up as shown above, it’s quite easy. As we’re using Docker compose; other services can be reached by using the service name as hostname Data Source=alloydemokit-db;Initial Catalog=alloydemokit;Integrated Security=False;User ID=sa;Password=All0yDemokit! (see full diff on github).
If you want, it’s possible to use an explicit SQL version by adding a tag behind the image name, for example :2016-sp1 or 2017. By default it will use the :latest tag.
In the diff you can see that I had to add the .net compilers/compilerplatform nuget packages. I forgot what the actual error was, but I think it couldn’t compile razor views.
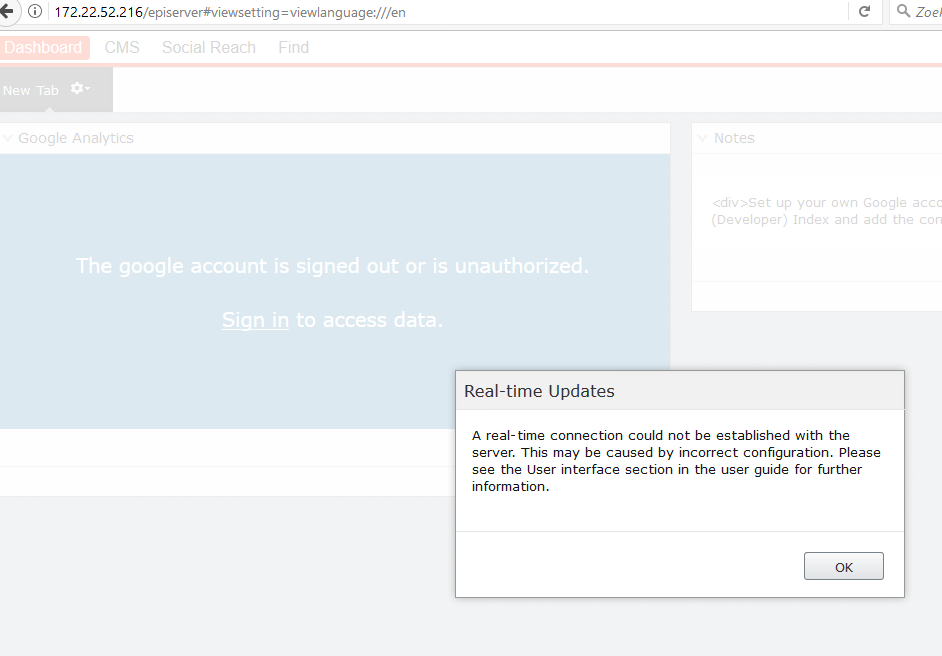
Fixing a problem with the environment: lack of websocket support
Alloy was up and running in two Docker containers and it’s using the most SQL server version which is not installed on my local machine! However, after logging in, I noticed an error about real-time updates, which you can see in the image below. I’ve seen this error before and I know it has something to do with websockets, perhaps the image I’m using (microsoft/aspnet:4.6.2) does not have websocket support. What to do?!
It’s actually quite easy to add extra layers (of changes/data) to existing images, this I figured out in my previous blog post about Docker. After a quick search on Google I found out that you can add Windows features in powershell using this cmdlet Add-WindowsFeature Web-WebSockets, and indeed, after adding a RUN command to the Dockerfile, the project rebuilt successfully and the error was gone!
We now have a Dockerfile for our alloydemokit project which has all the features we need in order to run our project. Next to the Dockerfile we have an up-to-date SQL instance for this project, an instance we can spin up and down whenever we want and we can also update to a new version, simply by changing the tag for the mssql image in the docker-compose file.
Pre-built images for demo environments and automated testing
Let’s focus on something different, let’s to try to create ‘self-sufficient’ images which will allow us to spin up complete environments for demo or automated testing purposes. These images will contain both the complete environment and all data required to run the alloy demo. This means that your complete environment, including the db, will be in a known state when you start the containers. When you stop the containers, all data will be gone unless you take explicit actions to keep the data. In general you should not store data inside your images if it’s not necessary, however including data inside an image can be very useful for demo/test purposes. You will always have a known state to start with, sounds great right?
Start with the web project, change the build configuration to release and try to run the project. After building and running I got a couple of issues regarding file permissions, as this is just a demo I granted everyone full access. After that I noticed I was missing the appdata so I also included that in my csproj.
That was actually all I had to do, after running the project and checking everything is okay, I had a alloydemokit image which contained all data that’s needed to run the project.
We’ll also need the database inside an image. Therefore I created a Dockerfile to create an image for the database. To build the image I ran docker build . -t alloydemokit-db:test. This creates an image based on the microsoft/mssql-server-windows-developer image and copies in the two db files.
The images can be pushed to the Docker Hub which is a free Docker registry. Pushing an image is also really easy, just tag the image with your username and push the image to the repository:
docker tag alloydemokit-db brianweet/alloydemokit-db:test
docker push brianweet/alloydemokit-db:test
Running the pre-built images
If you have Docker installed locally you can try to run the demo/test images I built on alloy. Create a docker-compose.yml file with the following content (as mentioned before, it can take quite a while to run this for the first time):
version: '3'

services:
  alloydemokit:
    image: brianweet/alloydemokit:test # Use pre built image, uploaded to Docker Hub
    ports:
      - "80:80"
    networks:
      - alloy-network
    depends_on:
      - alloydemokit-db
  alloydemokit-db:
    image: brianweet/alloydemokit-db:test
    ports:
      - "1433:1433"
    environment:
      - ACCEPT_EULA=Y
      - sa_password=All0yDemokit!
      - attach_dbs="[{'dbName':'alloydemokit','dbFiles':['C:\\alloydemokit.mdf','C:\\alloydemokit_log.ldf']}]"
    networks:
      - alloy-network
networks:
  alloy-network:
    external:
      name: nat
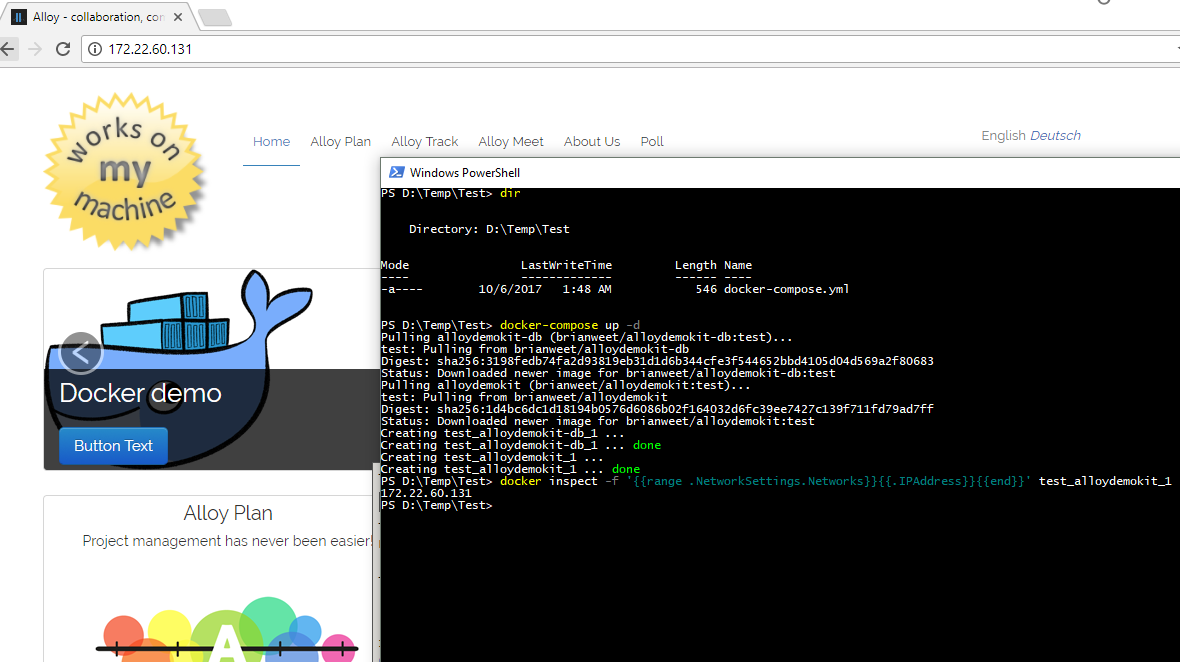
Now run docker-compose up -d to start the two containers to run alloy in Docker. If everything succeeds, you should be able to browse to the container instance ip and see exactly the same content as you see in this image:
Summary
For this blog, I had two things I wanted to try out while using Docker. First I wanted to convert an existing Episerver demo project to use Docker, as it should result in a consistent behaviour of our project across environments. Next to being consistent, it will also give us flexibility regarding the software that is being used (SQL server version, enabled windows features). From a developer’s perspective; using Docker can eliminate start-up problems when checking out a project for the first time. Configuration for the environments is explicit and we can move dependencies and requirements on the runtime environment to the container. The second idea was to created ‘self-sufficient’ images, which are available on the Docker hub, in order to start and stop complete environments without any hassle. The images I’ve built therefore contain all data that is necessary to run the site and they are perfect for demo or automated testing environments. With one docker-compose file and by running one command you can now start up the alloy demo kit in a predefined state.
Edit - Apr 25, 2018
- These credentials can be used to log in to the CMS (by browsing to
[ip-address]/episerver) - I’ve updated the base images and created a v2 version; reducing the image size quite a lot. Note the updated docker-compose.yml file
- alloydemokit image has been reduced from 11.5GB to 8.18GB
- alloydemokit-db image has been reduced from 15GB to 10.8GB
- Thanks for the tip, Mark Harrison!